Khi lập trình chúng ta sẽ thường xuyên có sự trao đổi qua lại dữ liệu giữa client và server. Để cải thiện tốc độ, tranh phải truy cập server quá nhiều lần thì chúng ta có thể lưu trữ dữ liệu trên client và truy vấn vào server khi cần thiết. Trong bài này chúng ta sẽ cùng nhau tạo một lớp UserStore để đồng bộ danh sách người dùng với máy chủ nhé.
Khởi tạo dự án
Chúng ta sẽ tạo thư mục cha có tên store-example, trong thư mục đó chúng ta sẽ tạo hai dự án cho server và client.
Khởi tạo dự án server
Trong thư mục store-example chúng ta sẽ tạo thư mục có tên server, trong thư mục server này chúng ta sẽ tạo ra tập tin main.js với nội dung như sau:
const express = require('express');
const cors = require('cors');
const app = express();

app.use(cors());
app.use(express.json());

const userByUsername = {
    dungtv: {
        username: "dungtv",
        displayName: "Dung Ta Van"
    }
};

app.get('/users', (req, res) => {
    res.json(userByUsername);
});

app.post('/users/save', (req, res) => {
    const { username, displayName } = req.body;
    userByUsername[username] = { username, displayName };

    // Trạng thái Created
    res.status(201).json({savedUsername: username});
});

const port = 3000;
app.listen(port, () => {
    console.log(`Example app listening on port ${port}`);
});
Ở đây chúng ta có:
- API /users để trả về danh sách người dùng.
- API /users/save để lưu trữ danh sách thông tin người dùng.
Khởi tạo dự án client
Trong thư mục call-api chúng ta sẽ khởi tạo dự án client bằng cách sử dụng câu lệnh:
yarn create vite client
Bạn đừng quên lựa chọn framework là ReactJS và ngôn ngữ là Typescript nhé.
Sau khi bạn khởi tạo dự án xong hãy cd vào thư mục client vừa được tạo và gõ lệnh yarn để tải các thư viện cần thiết và chạy lệnh yarn dev để khởi chạy server và bạn có thể truy cập vào trang web thông qua địa chỉ: http://localhost:5173/
Khởi tạo lớp UserStore
Trước hết chúng ta sẽ cần tạo kiểu User để đại diện cho thông tin của user như sau:
interface User {
    username: string,
    displayName: string
}

export default User;
Sau đó chúng ta có thể khởi tạo lớp UserStore như sau:
import axios from 'axios';
import User from '../types/User';

class UserStore {
    private fetchedFromServer = false;
    private userByUsername = new Map<string, User>();

    public async saveUser(user: User) {
        this.userByUsername.set(user.username, user);
        this.saveUserToServer(user);
    }

    public async getUserMap(): Promise<Map<string, User>> {
        if (!this.fetchedFromServer) {
            const fetchUserMap = await this.fetchUserMapFromServer();
            fetchUserMap.forEach((value, key) => {
                this.userByUsername.set(key, value);
            });
            this.fetchedFromServer = true;
        }
        return this.userByUsername;
    }

    private async saveUserToServer(user: User) {
        axios.post('http://localhost:3000/users/save', user)
      };

    private async fetchUserMapFromServer(): Promise<Map<string, User>> {
        const data = (await axios.get('http://localhost:3000/users')).data;
        const userMap = new Map<string, User>(
            Object.entries(data)
        );
        return userMap;
    }
}

export default UserStore;
Trong lớp này chúng ta có hai hàm quan trọng:
- saveUser: Để lưu thông tin 1 người dùng đồng thời gọi API /users/add để đồng bộ thông tin người dùng lên server.
- getUserMap: Để lấy thông tin người dùng từ cache và gọi API /users để lấy danh sách người dùng từ server nếu chưa gọi đồng bộ bao giờ.
Khởi tạo StoresProvider
Tiếp theo chúng ta sẽ tạo StoresProvider và hàm useStores để sử dụng UserStore global với mã nguồn như sau:
export default UserStore;
import { createContext, useContext, ReactNode } from 'react';
import UserStore from '../stores/UserStore';

interface StoresContextProps {
  userStore: UserStore;
}

const StoresContext = createContext<StoresContextProps | undefined>(undefined);

export const StoresProvider = ({ children }: { children: ReactNode }) => {
  const userStore = new UserStore();

  return (
    <StoresContext.Provider value={{ userStore }}>
      {children}
    </StoresContext.Provider>
  );
};

export const useStores = () => {
  const context = useContext(StoresContext);
  if (!context) {
    throw new Error('useStores must be used within a StoresProvider');
  }
  return context;
};
Ở đây chúng ta đang ứng dụng các hàm createContext, useContext của React Hook.
Thay đổi mã nguồn App.tsx
Trước tiên chúng ta sẽ thay đổi mã nguồn của tập tin main.tsx để sử dụng StoresProvider như sau:
import { createRoot } from 'react-dom/client'
import App from './App.tsx'
import './index.css'
import { StoresProvider } from './providers/StoresProvider'

createRoot(document.getElementById('root')!).render(
  <StoresProvider>
    <App />
  </StoresProvider>,
)
Tiếp theo chúng ta sẽ thay đổi mã nguồn của tập tin App.tsx như sau:
import { useState, useEffect } from 'react';
import './App.css';
import User from './types/User';
import { useStores } from './providers/StoresProvider';

function App() {
  const [username, setUsername] = useState('');
  const [displayName, setDisplayName] = useState('');
  const [userMap, setUserMap] = useState(new Map<string, User>());

  const { userStore } = useStores();

  useEffect(() => {
    (async() => {
      setUserMap(await userStore.getUserMap());
    })();
  }, []);

  const handleSubmit = async (event: any) => {
    event.preventDefault();
    await userStore.saveUser({username, displayName});
    setUserMap(new Map(await userStore.getUserMap()));
  };

  return (
    <div>
      <div>
        <h1>User List</h1>
        <ul>
          {[...userMap].map(([key, user]) => (
            <li key={key}>
              {user.username} (DisplayName: {user.displayName})
            </li>
          ))}
        </ul>
      </div>
      <form onSubmit={handleSubmit}>
      <div>
        <label htmlFor="username">Username:</label>
        <input
          id="username"
          type="text"
          value={username}
          onChange={(e) => setUsername(e.target.value)}
          required
        />
      </div>
      <div>
        <label htmlFor="displayName">Display Name:</label>
        <input
          id="displayName"
          type="text"
          value={displayName}
          onChange={(e) => setDisplayName(e.target.value)}
          required
        />
      </div>
      <button type="submit">Add User</button>
    </form>
    </div>
  );
}

export default App;
Ở App chúng ta:
- Sử dụng userStore để lấy ra danh sách người dùng và lưu trữ thông tin người dùng khi form nhập được submit.
- Hiển thị danh sách người dùng đơn giản.
- Tạo ra một form nhập cho phép nhập thêm thông tin người dùng.
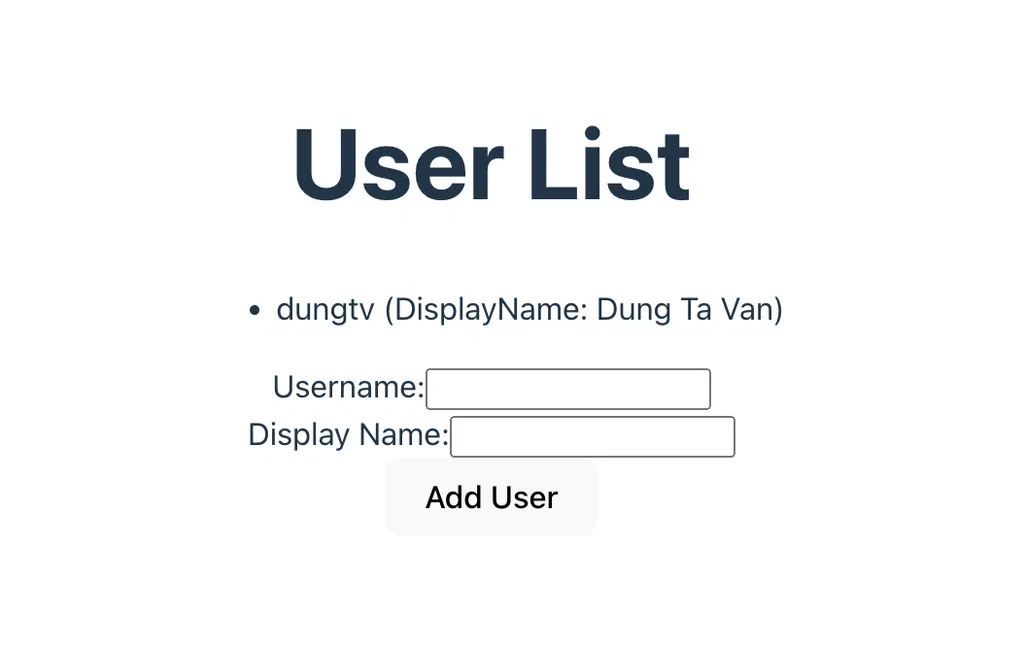
Giao diện của chúng ta như sau:
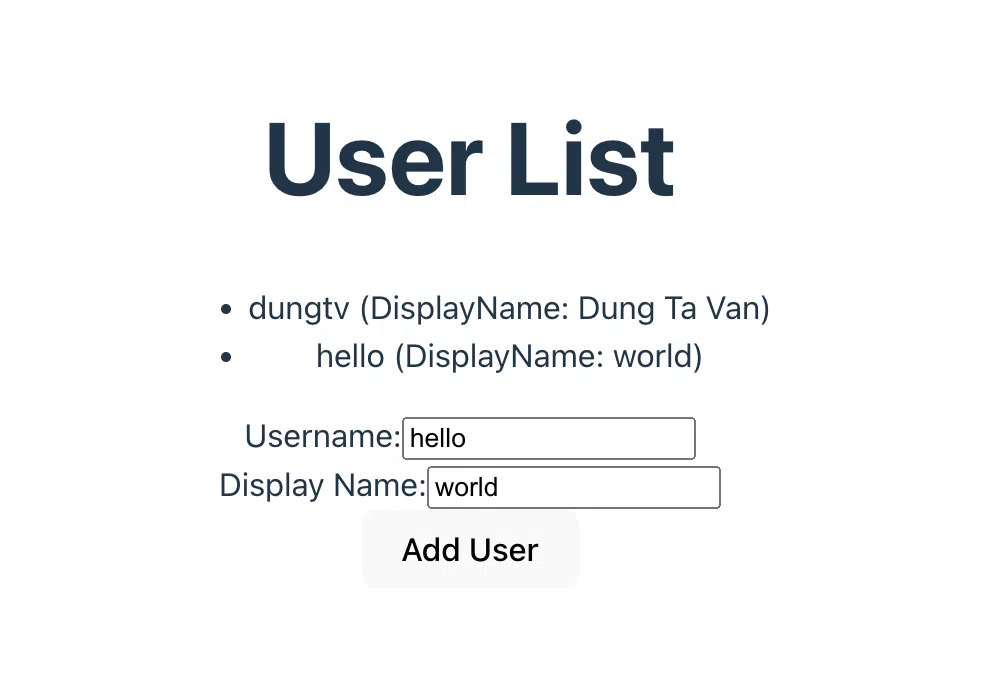
Khi nhập thêm 1 người dùng có username là hello và display name là world giao diện sẽ thay đổi như sau:
Tổng kết
Như vậy chúng ta đã cùng nhau tạo ra một lớp UserStore để lưu trữ và đồng bộ thông tin người dùng với server.
Cám ơn bạn đã quan tâm đến bài viết này. Để nhận được thêm các kiến thức bổ ích bạn có thể:
- Đọc các bài viết của TechMaster trên facebook: https://www.facebook.com/techmastervn
- Xem các video của TechMaster qua Youtube: https://www.youtube.com/@TechMasterVietnam nếu bạn thấy video/bài viết hay bạn có thể theo dõi kênh của TechMaster để nhận được thông báo về các video mới nhất nhé.
- Chat với techmaster qua Discord: https://discord.gg/yQjRTFXb7a
Bình luận